Pages

Showing posts with label tutorials. Show all posts

27 November 2012

A tisket, a tasket, here is my simple Christmas basket.

A change of season calls for a change to the front door...  
I think of the front door as the lipstick for the house :)

I've always loved old, cool baskets
but they have always been a bit LOT too much for my budget... 

so I found this one at a local shop 
( I am SO sad to say they are no longer in business :( - boo!).


I paid $12.95 for it earlier this year.  
If you found a simple basket you liked that didn't have a handle, you could add one - my handle (came with the basket) 
is just some jute rope tied onto silver rings.  
I tacked a small nail into the door to hang it.
Usually I have flowers filling the basket in the spring 
and leaves in the fall, but 
it was time for a Christmas transformation, 
so this is what I came up with...


I had some garland from years past that I cut into a strip as long as the front of the basket (about 8 inches) using the cutting part of needle nose pliers.  
Looks like some creepy mutated spider!  EEK!


Fluff up your garland and put it over the front of your basket... some of the pine tips going to the front of the basket and some to the back.  This will help keep it in place.


Do this again for the back of the basket.


It's starting to look like Christmas already!!!
Well, maybe not just quite yet ;)

I headed to Joann's and found some sparklies I liked - at a great price of course.  Each one was $1.99 and then 50 or 60% off (I can't remember which it was).

Here is one before I cut the stem shorter, but after I bent the stem :)
(with the needle nose pliers again).

I bought four of these stems for a whopping $4ish dollars.
Then you just stick them in the basket...

One


Two and three


Four


For the finishing touch...

I found this cute pick from Neiman Marcus...
ha ha ha!  Just kidding - 
from Dollar Tree - yep one buck for this cute baby - clip and all!


I wanted to add a bit more fullness to the greenery part, so I found a 'bare' place between the pine tips, took the trusty needle nose pliers and cut the wire.

   
 I then tucked a few extra of these clippings into the greenery until it felt 'right'.  So I spent about $5.00 plus tax for this right now.  If you add the basket and garland (depending a lot on the garland... there are so many different garlands from super cheap to really pricey.  We'll say $6 for the garland and $13 for the basket - still under $30.  Not too bad if the basket is used year round :).

So at long last...Ta Da.... (wow, I am really impressed that you are still reading this!)

Hope this inspires you to put some lipstick on your door :)
Let me know what you think.
Thanks for stopping by!  

12 November 2012

Here's looking at you...

I have put off having family photos taken for waaayyyyy tooooo longgggg!!!

So, when I saw an awesome deal for an hour long session photo shoot offered on Living Social I signed up right away.

Courtney Smith took our photos last month and I had some of them blown up at Costco. 
 I love ordering photos there.  The prices are great (I had five 16 x 20's printed for just under $30!!) and they are usually ready the next day.

So, this is what I did... inspired by some pins I saw on Pinterest.

 I found this 5 pack of 16 x 20 canvases at Michaels.  They were $19.99 and I used the 40% coupon (LOVE that coupon!) and used Mod Podge...


slathered it on the canvas with a foam brush and then put the photo over top of the Modge Podge.     To make sure I got all of the air bubbles out, I turned the canvas with the photo on it over and ran my hand over the back of the canvas.

  
Next I flipped over the canvas, photo side up and slathered more Mod Podge all over the photo.  I let the first coat dry and ten added a second.  I used the matte kind of Mod Podge, but you could use whatever finish you like :)

So here are the final results...


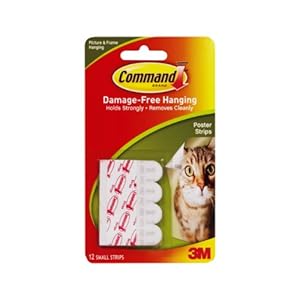
I hung the photos with simple 3M Command poster strips (2 per photo) and hung them going up our stairs.  
I love seeing my children smiling every morning at me :)  at least in picture form ;)

You can find the darling printable about home here at eighteen25's blog (I found this out from my wonderful friend Tifani :).  They have different color options you can choose from and some more really cute things you can download.

Thanks so much for stopping by! I hope you have a wonderful day!


04 January 2012

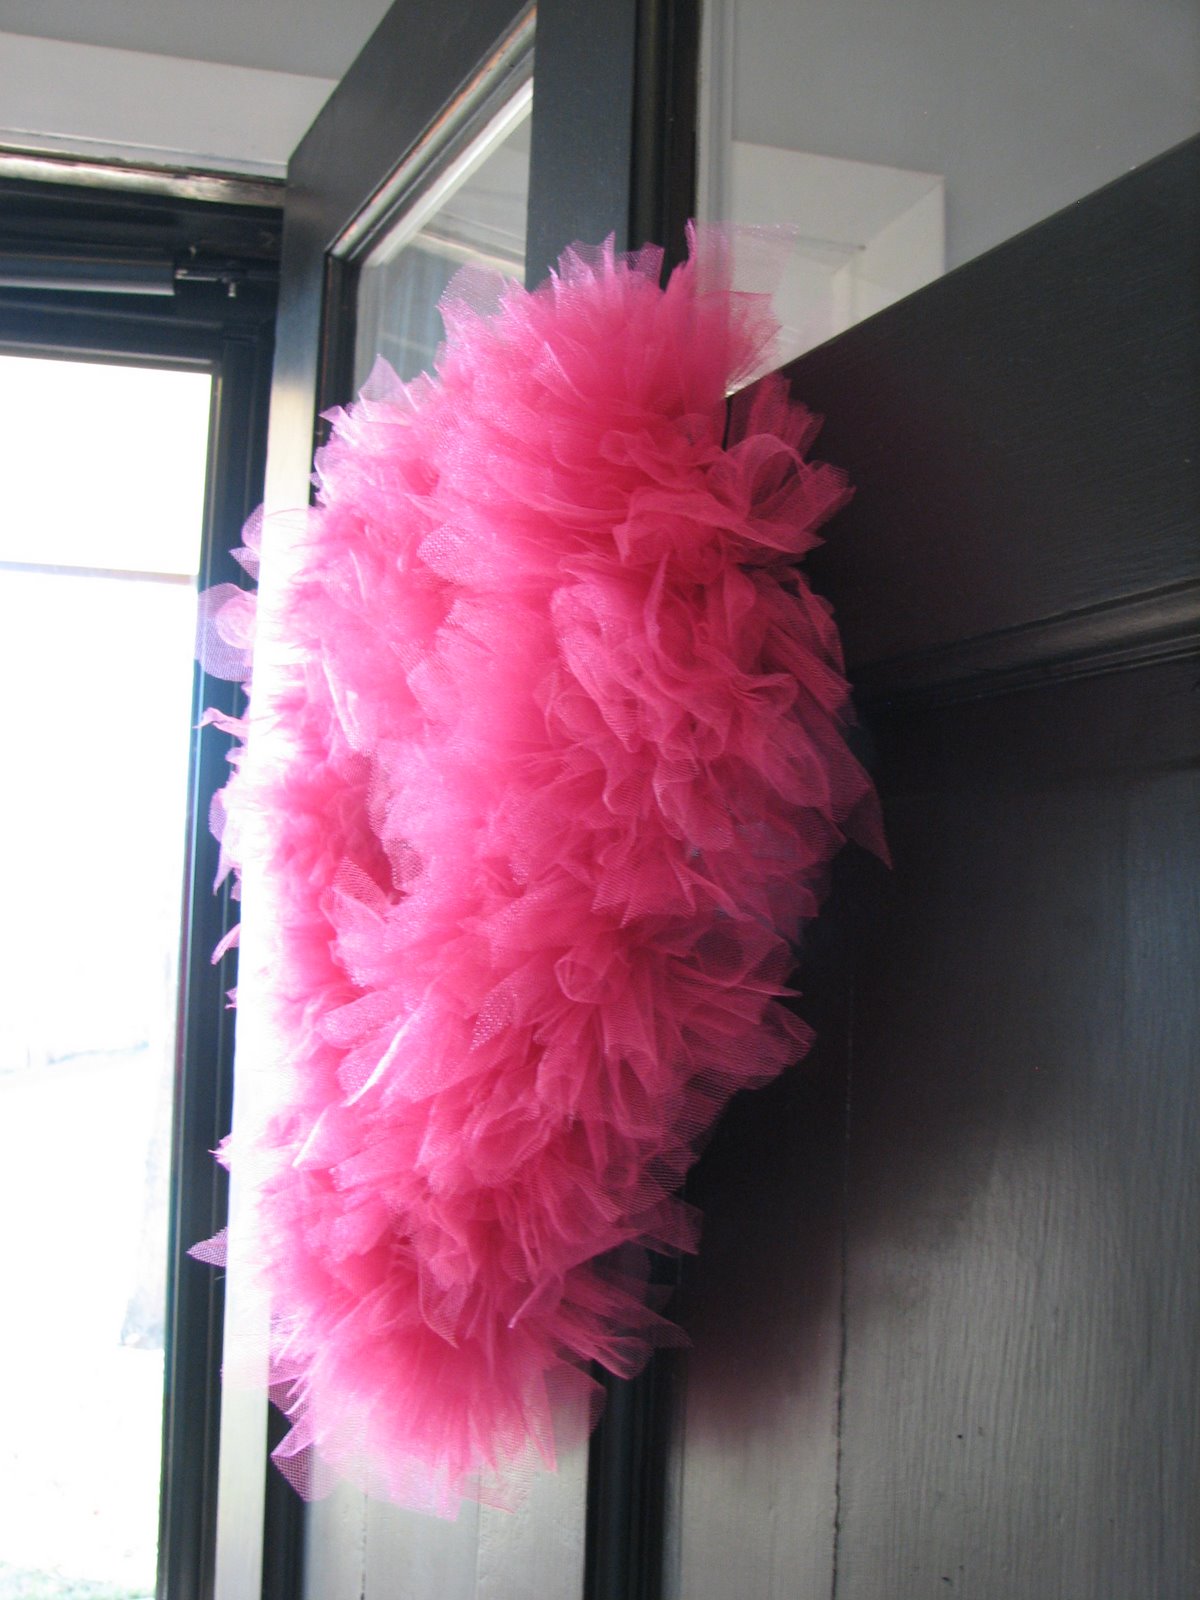
valentine's tulle wreath

i have been wanting to make something festive for the front door - down with the
Christmas wreath -
up with the valentine's day one :)

money needed to be minimal on this one, so after being dismayed at how much silk flowers were (even half price), i thought of this idea as i wandered around hobby lobby the other day...

take one wire wreath form:


yes, for $1.99 - well, actually i used my handy dandy 40% off coupon, so it was less than that...


then 3 of these spools of tulle - they were half off, so $2.50 a spool. i probably could have just bought two, because i only used a partial amount of the third one, but i really wanted my wreath to be full. any leftover tulle is great for using on presents :)

cut the tulle in approximately 5 inch strips - give or take an inch. experiment and see what is to your liking.... you will have a huge pile when you are done.

then begin the mindless task of tying the tulle around each wire.


keep tying...

and tying....

and tying...


until...
ta da!

i cut a bigger piece of tulle and tied it onto the back top center to use as a hanger.

this one is pink, but there are lots of other tulle colors out there - even glitter tulle- oooooh.
my grand total, with tax, was $9.32... with tulle leftover for some presents :)
if you make one, let me know! i'd love to see it!

05 February 2011

my first tute - love


i made this for our front foyer - and thought, although it is easy, i wanted to give writing a tutorial a try.  i would love your feedback - because i would like to get better and better at this.  so many times i am in the middle of a project and think,  ooh, i should have taken pictures and done a tutorial.

here's the finished product
Here's what you will need:
embroidery hoop - painted color of your choice, or left natural
fabric for background - large enough to fit your hoop plus a few inches all the way around
fabric for letters
pellon 805 wonder under fusible web - or something similar
"zots" craft adhesive, or something similar
scissors
iron
letters - printed from your computer on cardstock - or freehand cut... whatever suits you

first, i would go ahead and iron my wonder under onto my fabric for the letters.  this will give it a chance to cool and be easier to peel the backing off.  just follow the instructions that come with the wonder under.

 i found my frame at goodwill.  they are available at any craft store.
i painted the frame white and then found some fabric i liked.

put the fabric in the frame and pull it taut.


then i went to paint (you could use Word, or whatever you prefer) and found a font i liked (salaryman in this case) and printed it out as large as i possibly could.


it is a good idea to print it out on cardstock so it will be sturdy enough to trace around the cut out letters. 

i wanted the work bigger, so i enlarged 175% on the copier.  you may have to fiddle around a bit until you figure out what looks best for you.
when you have what you want with your cardstock letters, cut then out carefully - these will be your templates for you fabric letters.

 trace the wrong or the backside of your letters onto the paper side of your fabric.

now comes the cutting.  i suggest you use really sharp scissors so you can have as clean of an edge as possible.

once you have you letters all cut out, it is time to take of the paper backing...


position each letter where you would like it to be and then get out the hot iron.  you goal right now is just to tack the letters in place, not necessarily 100% adherence.
.
once they are tacked on, with no floppy edges, turn the frame over and iron on the backside.  
make a few slow passes and then check to see that everything on the front is where you want it to be.

then trim the extra fabric away from the edge of the back of the frame.  leave enough of an edge so that you can tack down the edges for a finished look.

you can use these - they do a great job ... or an adhesive of your choice.

place the zots around the inside edge of the frame..


start to fold fabric over, all the way around the frame.
to hang this i used the 3m picture hangers - both sides of the hanger have velcro.  these are so awesome for those of us that enjoy moving things around the house and don't like patching nail holes along the way :)


first you stick one hanger to the object you are hang and then the way i do it is to put the other hanger (the one that will be stuck to the wall) on top of the one you have already placed on the object.
 the next think to do is to peel off this backing, go to you hanging spot and stick it on the wall.
ta - da!  stand back and smile and say,
"hey!  i do good work".


p.s.  if your item to hang seems heavier, by all means use more than one hanger!
i've had a couple things come down unexpectedly, but nothing that couldn't be fixed.

p.p.s.  if you make one, send me a pic - i'd LOVE to see it :)
... and please let me know what you think of this tutorial - i'd appreciate any feedback - that's how we learn :)

22 June 2010

easy peasy pie crust

This was originally shared with me by my friend (who also happens to be my mother-in-law - yes I am VERY blessed :)

She got this from her Mom - who I believe got it from Betty Crocker...

very simple ingredients:
for  single pie crust
(if you want a double, just double the recipe)
Preheat oven to 475 degrees

2 cups (280 grams) all purpose flour - 
my latest favorite is Eagle Mills - I'll post more about it soon
1/2 teaspoon salt
1/2 cup oil - sometimes just a tad more - I have found depending on the weather
1/4 cup milk*  see below for more on the milk part

Mix flour and salt in bowl with fork.  Pour oil into measuring cup and add milk.  Do not mix.  Make a well in center of flour/salt and pour in milk/oil.  Stir with fork until mixed.  Place sheet of wax paper on counter, with a bit of water underneath so it won't slide around.  
Put mound of crust on wax paper and cover with another sheet of wax paper.  
Roll out with rolling pin to desired thickness. 
Take off top wax paper and put pie plate beside crust.

Lift up crust on the wax paper and do your best to flip the crust onto the pie plate.

Gently pull away the wax paper. 
Now, if the crust breaks or whatever, just repair it.  This crust is incredibly forgiving.  Today, I know, my pictures make it look easy, but I have had days where I have had huge rips and tears.  No biggie, just piece it back together.
Shape the edges - I usually go around the rim and make sure I have an even amount of crust for the edge and then shape it how I want it to look.  
And yes, scissors can help even things up...

If this is for a baked pie crust, poke lots of holes in the bottom and up the sides with a fork and then bake till done - this can be 8 to 12 minutes.  Set your timer and check often.

I have tried baking with stuff in the crust (you know like beans) to keep the crust from getting puffy, but I have found that if I prick enough holes with the fork, I don't have any problems.
I will post a pic of the baked crust soon - sorry - I forgot...

*As far as milk goes, you can try different kinds and see what you like.  I have had some interesting results.  
This crust was made with vanilla soy milk. My in-laws like ones I make with evaporated milk.  I recently tried whipping cream and it was great with a fruit pie.  Have fun and happy baking! 
I'd love to know what you think :)